Tutorial 7: Automated Vulnerability Scanning (OpenVAS, Nessus & Verification)

Lesson notes
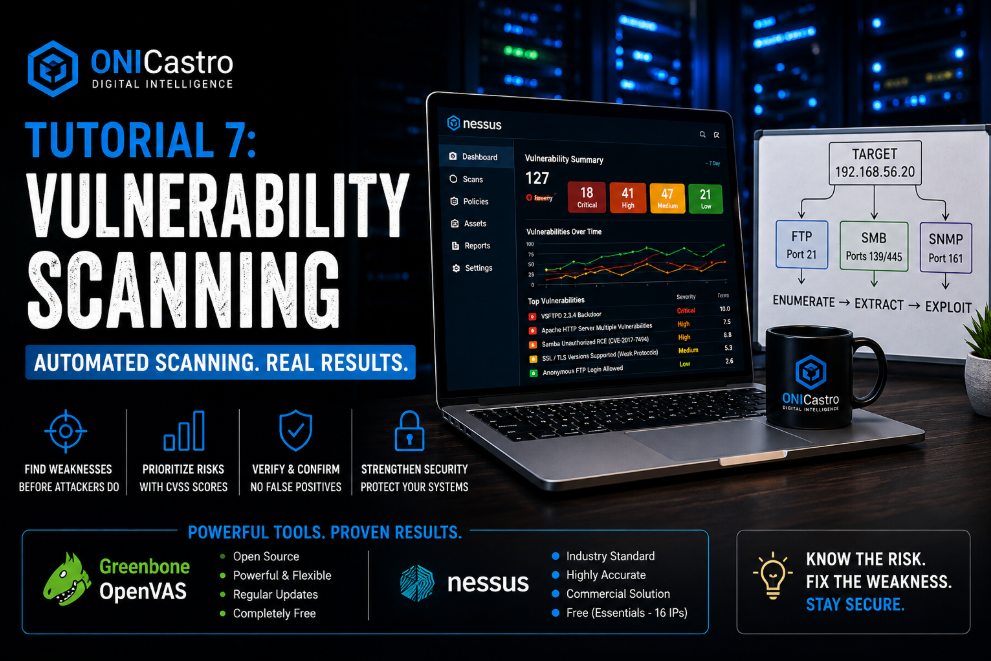
Welcome to Tutorial 7 of the Ethical Hacking & Cybersecurity Masterclass at ONICastro Digital Intelligence. This guide to Vulnerability Scanning will teach you how to automate the discovery of security flaws across entire networks while maintaining professional skepticism. Effective Vulnerability Scanning is the bridge between manual enumeration and confirmed exploitation.
Table of Contents
So far, we have manually enumerated our target using Nmap, FTP, and SMB. Manual enumeration is precise and stealthy, but it does not scale. If a client hires you to perform a vulnerability assessment on a /16 network containing 10,000 active IP addresses, manual enumeration will take you six months.
To scale, enterprise security teams use Automated Vulnerability Scanners. This is where Vulnerability Scanning becomes essential.
In this tutorial, we will discuss how these scanners work, how to deploy them, and most importantly—how to manually verify their findings. Relying blindly on an automated scanner is the defining characteristic of a “script kiddie.” We are training you to be a professional who understands the nuances of Vulnerability Scanning.
1. The Industry Standard Scanners for Vulnerability Scanning
There are two primary vulnerability scanners used in the industry for Vulnerability Scanning:
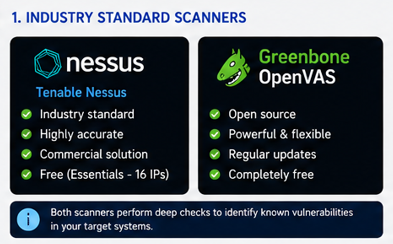
- Tenable Nessus: The gold standard commercial scanner. It is highly accurate but very expensive for professional use. (They offer a free ‘Nessus Essentials’ version limited to 16 IPs, which is perfect for learning Vulnerability Scanning in a lab).
- OpenVAS (Greenbone Vulnerability Management): The leading open-source alternative. It is completely free, highly capable, and widely used in the open-source community for enterprise Vulnerability Scanning.
For this lab, you can install either on your Kali VM. OpenVAS/Greenbone can be installed via sudo apt install gvm and configured with sudo gvm-setup. Having either tool ready is critical for hands-on Vulnerability Scanning.
Installing OpenVAS on Kali
The setup process for Vulnerability Scanning with OpenVAS takes time but is straightforward:
sudo apt update
sudo apt install gvm -y
sudo gvm-setup
Once the setup is complete, note the admin password generated by the script. You can access the Greenbone web interface at https://127.0.0.1:9392 and begin your Vulnerability Scanning.
2. How Automated Vulnerability Scanning Works
When you point OpenVAS or Nessus at a target (e.g., our Metasploitable VM at 192.168.56.20), the scanner executes a highly structured routine. Understanding this process is fundamental to Vulnerability Scanning.
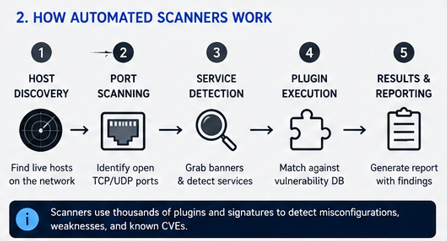
- Host Discovery: It pings the network to see if the host is alive. This is the first stage of any Vulnerability Scanning operation.
- Port Scanning: It runs a massive Nmap scan to find all open TCP and UDP ports.
- Service Detection: It grabs the banners of the open ports to identify the software (e.g.,
Apache 2.2.8). - Plugin Execution: This is the core of the scanner. The software contains a database of tens of thousands of “plugins” (scripts). It compares the software version it found against its database of known CVEs (Common Vulnerabilities and Exposures). This database comparison is what makes Vulnerability Scanning so powerful.
- Active Probing (Optional): If configured, the scanner will actually send harmless exploit payloads to the target to definitively prove the vulnerability exists. This is the most aggressive form of Vulnerability Scanning.
Scan Configuration Best Practices
When setting up a Vulnerability Scanning task, you must choose a scan policy. For a penetration test, select “Full and fast” or “Full and deep” to ensure no stone is left unturned. For a production environment, you might choose a less intrusive policy to avoid disrupting services.
3. Understanding CVSS Scores in Vulnerability Scanning
When the scan finishes, it generates a massive report. Vulnerabilities are ranked using the Common Vulnerability Scoring System (CVSS), which scores vulnerabilities from 0.0 to 10.0. Interpreting these scores is a key skill in Vulnerability Scanning.
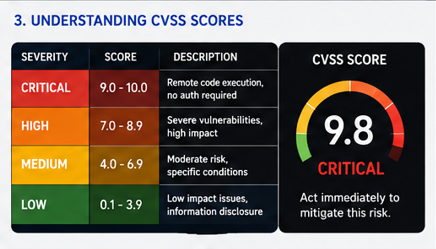
- Low (0.1 – 3.9):
Unlock the Remaining 60%
Join the ONICastro Intelligence Hub — completely free.
Get full access to every tutorial and never lose your place.
- Learning Paths synced to your account
- Continue exactly where you stopped
- Completed badges & next recommended step
- Priority access to speedy consultancy